


So you have an old, tired piece of furniture that you want to give a second life to. Maybe it’s a family heirloom. Maybe it has sentimental value, or the shape is unique, or it’s really good quality and too expensive to replace. Whatever your reason, know that it’s possible to love and enjoy this piece of furniture for many more years by reupholstering it! Reupholstering furniture is a big job, but you can do it with some time, grit, and determination! Taking on such an involved project can be extremely rewarding and gratifying, not to mention money-saving, so why not give it a go? Here is our simple guide on how to reupholster furniture.
Supplies:
Staple remover
Staple gun
Heavy-duty scissors
Flathead screwdriver
Welting cord
Hot glue gun (if using double welting)
1. Inspect Your Furniture
Before you embark on a reupholstering adventure, you want to make sure your chosen piece of furniture is worth investing the time and effort into. Do a thorough check of your furniture for any broken, weak, or wobbly areas in the frame. If the furniture is in great shape, you are ready to get started. If it needs more repairs than you are willing to do on your own, you may want to pass this job on to a professional from the get-go.
2. Photograph Your Furniture
You’ll be taking the upholstery of your furniture piece apart, so you want to make sure you know exactly how the upholstery lay on the piece and where it is sewn together in order to recreate it. Take pictures of different areas of your furniture so you can use it as a reference later.
3. Remove Old Upholstery Fabric
Gently and carefully, use a staple remover to remove the old upholstery fabric without tearing it. You are going to model your new fabric pieces off of the shapes of the old fabric, so you want to keep them intact. Label the tops, bottoms, and sides of the fabric in any way that will be helpful to you.
4. Deal With the Batting
Batting is part of what makes upholstered furniture fluffy. It goes between the upholstery and whatever material is used as the cushioning. If the batting is in perfect condition, you can keep it as is. If it is damaged or worn, you’ll want to replace it. Staple new batting to the back of the furniture first and then the seat. You can pull the batting over the staples so they aren’t visible.
5. Measure for New Fabric
Before you go shopping for your new upholstery fabric, you want to measure how much you will need. It’s a good idea to get extra fabric just in case, and measuring will help make sure you get the right amount.
6. Go Shopping
Visit fabric stores to choose your new upholstery fabric! Make sure you get fabric that is actually meant for upholstery as it will be thicker and longer-lasting than other fabrics. Consider you may not want to do this project again for a long time (or ever), so choose something you truly love and that goes well with the other colors in your space.
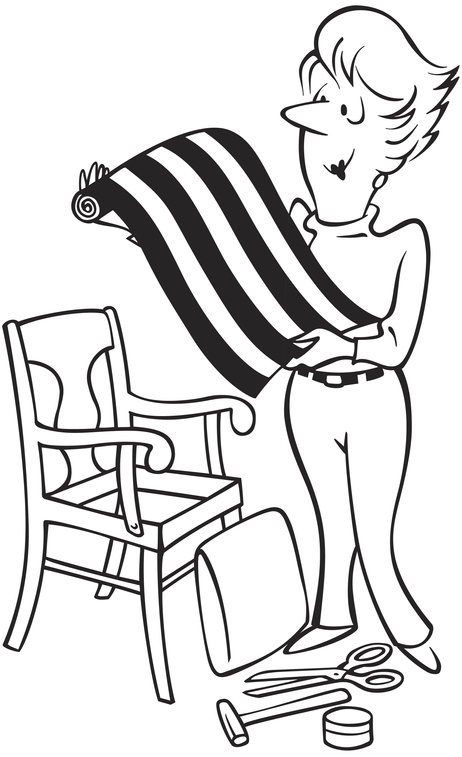
7. Cut Your Pattern
Remember those original upholstery pieces that you saved earlier? This is why! Place those pieces on your new fabric and cut around them to create your new upholstery pieces. Keep in mind where you labeled your old fabric (top, bottom, back right, etc.), as that is how and where you will staple on your new fabric.
8. Staple New Fabric to Furniture
Lay the fabric pieces that go on the seat to plan for where you will staple them. Adjust them as necessary until you are happy with how they look. Then pull them tight and staple them to the seat’s apron. Do the same for the sides and back of the furniture piece. Tuck in your edges using a flathead screwdriver to create a finished look.
9. Add Welting
Welting is a cord covered in your chosen upholstery fabric or a coordinating fabric that goes along the edge of the seat and arms of upholstered furniture to cover the seams. It is usually the last step when you reupholster furniture. Welting is simple to create–you need to cut some cord long enough to go where you need it, then cut a strip of fabric to sew tightly around it. Next, staple the welting where the upholstery on your furniture creates seams.
Some people make a double welting, which is two cords sewn together instead of one, to cover staples that may be exposed. Double welting can be glued to your furniture between where your upholstery meets wood.
10. Celebrate!
Hooray! You just completed a major DIY project–you should be proud! Now that you know how to reupholster furniture, and have some experience in the area, you can take on more reupholstering projects in your home, or perhaps have the confidence to try another DIY you’ve been considering.
Of course, knowing how to reupholster furniture is only half the battle. You also need the time, patience, and energy to complete the project. If you don’t feel like this is something you want to take on, there are professionals who will be happy to do it for you. At Howard’s Upholstery, our experts will work closely with you to give you the reupholstering results you are looking for without you having to invest the time (and possibly frustration) in doing it yourself. Either way, you are sure to end up with a piece of furniture you love without having to buy something new!
Written by hrosenthal-admin